10 Photography Tips for Stunning Guesthouse and Boutique Hotel Listings
Megg Cowley
10 Photography Tips for Stunning Guesthouse and Boutique Hotel Listings
When travellers are comparing properties online, your photos do the selling. A well-lit, thoughtfully composed image can be the difference between a booking and a pass — no matter how good the experience you offer actually is.
You don’t need to be a professional photographer to get results. Whether you’re running a guesthouse, a boutique hotel, or a guest farm, the right preparation and a few solid techniques will produce photos that genuinely represent your property and give potential guests the confidence to book.
1. Prepare Your Property Inside and Out
Before you pick up a camera, spend time getting the property ready. Photos of an untidy or cluttered space will put guests off immediately, even if everything else about your establishment is excellent.
Start with a thorough clean — floors, surfaces, windows, bathrooms. Then remove anything that doesn’t belong: clear kitchen counters, tidy bedside tables, straighten shelves. The goal is a polished, inviting space that guests can picture themselves settling into.
Once it’s clean, stage it. Arrange furniture to make rooms feel open, add fresh flowers or a bowl of fruit for warmth, and make beds with crisp linen. Think about the small touches that set the mood — a carafe of water on the nightstand, neatly folded towels in the bathroom, a welcoming arrangement on the reception desk.
Don’t stop at the front door. The exterior sets the first impression, so mow the lawn, sweep paths, move any staff vehicles out of frame, and tuck away bins, hoses, and anything else that breaks the atmosphere. If you have a terrace, courtyard, or garden, set it up as you would for guests — chairs out, cushions on, table clear.
Pro tip: Take a set of photos of each space without any props or staging too. It’s a useful baseline, and makes it easier to see what’s changed when you come to refresh your listing later.
2. Work With Natural Light
Natural light will almost always outperform artificial light in photos. The best times to shoot are during the golden hour — shortly after sunrise or in the hour before sunset — when the light is soft and warm rather than harsh and flat.
Overcast days are also surprisingly good for interior shots: cloud cover acts like a giant diffuser, giving you even, balanced light without strong shadows.
For each room, open all curtains and blinds fully before you start. In very bright rooms you might need to partially close blinds to reduce contrast, while darker rooms may benefit from switching on lamps too. Try shooting each room at a couple of different times of day to find what works best.
Avoid pointing your camera directly at a bright window — you’ll either blow out the window or lose all the detail in the room. If you’re shooting a room with a great view, HDR techniques or bracketed exposures can help balance the interior and exterior light.
For exteriors, dusk is worth trying — the building lights glow warmly against the fading sky and the result often looks more inviting than a flat midday shot.
3. Use the Right Gear
You don’t need a professional camera kit, but a few key pieces of equipment make a real difference.
Any camera with 20MP or more will produce photos sharp enough for an online listing — that covers most modern DSLRs, mirrorless cameras, and flagship smartphones. If you’re buying specifically for property photography, prioritise a camera with good low-light performance and manual exposure control over raw megapixel count.
A modern smartphone with a dedicated camera app and a small tripod can also produce solid results if that’s what you have. The limiting factor for most people isn’t the camera body — it’s the lens and the technique.
Wide-angle lens: Essential for interior photography. Look for something at 24mm or wider — it lets you capture a full room in a single frame without having to stand in a doorway. Avoid going too wide (below ~16mm) or you’ll get distortion that makes rooms look warped.
Tripod: Keeps your camera steady in lower light, lets you experiment with composition without rushing, and makes it much easier to keep shots level and consistent across a whole shoot.
4. Get Your Composition Right
Good composition makes photos look polished and professional, even if you’re not a photographer.
Rule of thirds: Imagine a 3×3 grid over your image. Place key elements — a feature wall, a lamp, the edge of a sofa — along those grid lines rather than dead-centre. Most cameras and phones have a grid overlay option to help.
Shoot from corners: Standing in a corner and shooting across a room shows as much of the space as possible and helps guests understand the layout.
Leading lines: Hallways, staircases, ceiling beams, and floor patterns can all be used to draw the eye through a photo. When you can position a strong line to lead into the scene, it gives the image depth and makes the space feel larger.
Camera height: For most rooms, shooting at around 4–5 feet high (roughly chest height) produces a natural, balanced perspective. Kitchens and bathrooms often benefit from shooting slightly higher to show countertops; bedrooms and living rooms can work slightly lower to emphasise the furniture.
Keep lines straight: Make sure verticals are truly vertical. Tilted walls look amateurish and can make a space feel smaller than it is. Use your camera’s levelling tool or fix it in editing.
5. Showcase What Makes Your Property Unique
Every property has something worth highlighting — a wood-burning fireplace, a wraparound veranda, a cellar dining room, a view across the valley. These are often the reason a guest chooses your establishment over a similar one, so make sure they’re clearly visible in your photos.
Beyond simply photographing the feature, try staging it to show how it’s experienced. A folded blanket and a glass of wine beside the fireplace, towels draped at the edge of the pool, a breakfast setting on the terrace at golden hour. These details help guests picture themselves there — which is exactly what you want.
Don’t overlook the wider setting either. For guest farms and rural properties especially, the surrounding landscape is part of the appeal. A photo looking out across the land, towards a mountain, or down a vine-lined path can be as compelling as any interior shot.
6. Cover Every Space and Build a Cohesive Gallery
Guests want to feel confident about what they’re booking. A listing with gaps — no photo of a room type on offer, or just one shot of the main lounge — raises doubts. Cover every guest room, communal space, and amenity, and give each one at least two or three angles.
For each space, aim to include:
- A wide shot showing the whole room
- A corner-to-corner shot that conveys scale
- At least one detail shot (a nice light fitting, a view from the window, a carefully arranged corner)
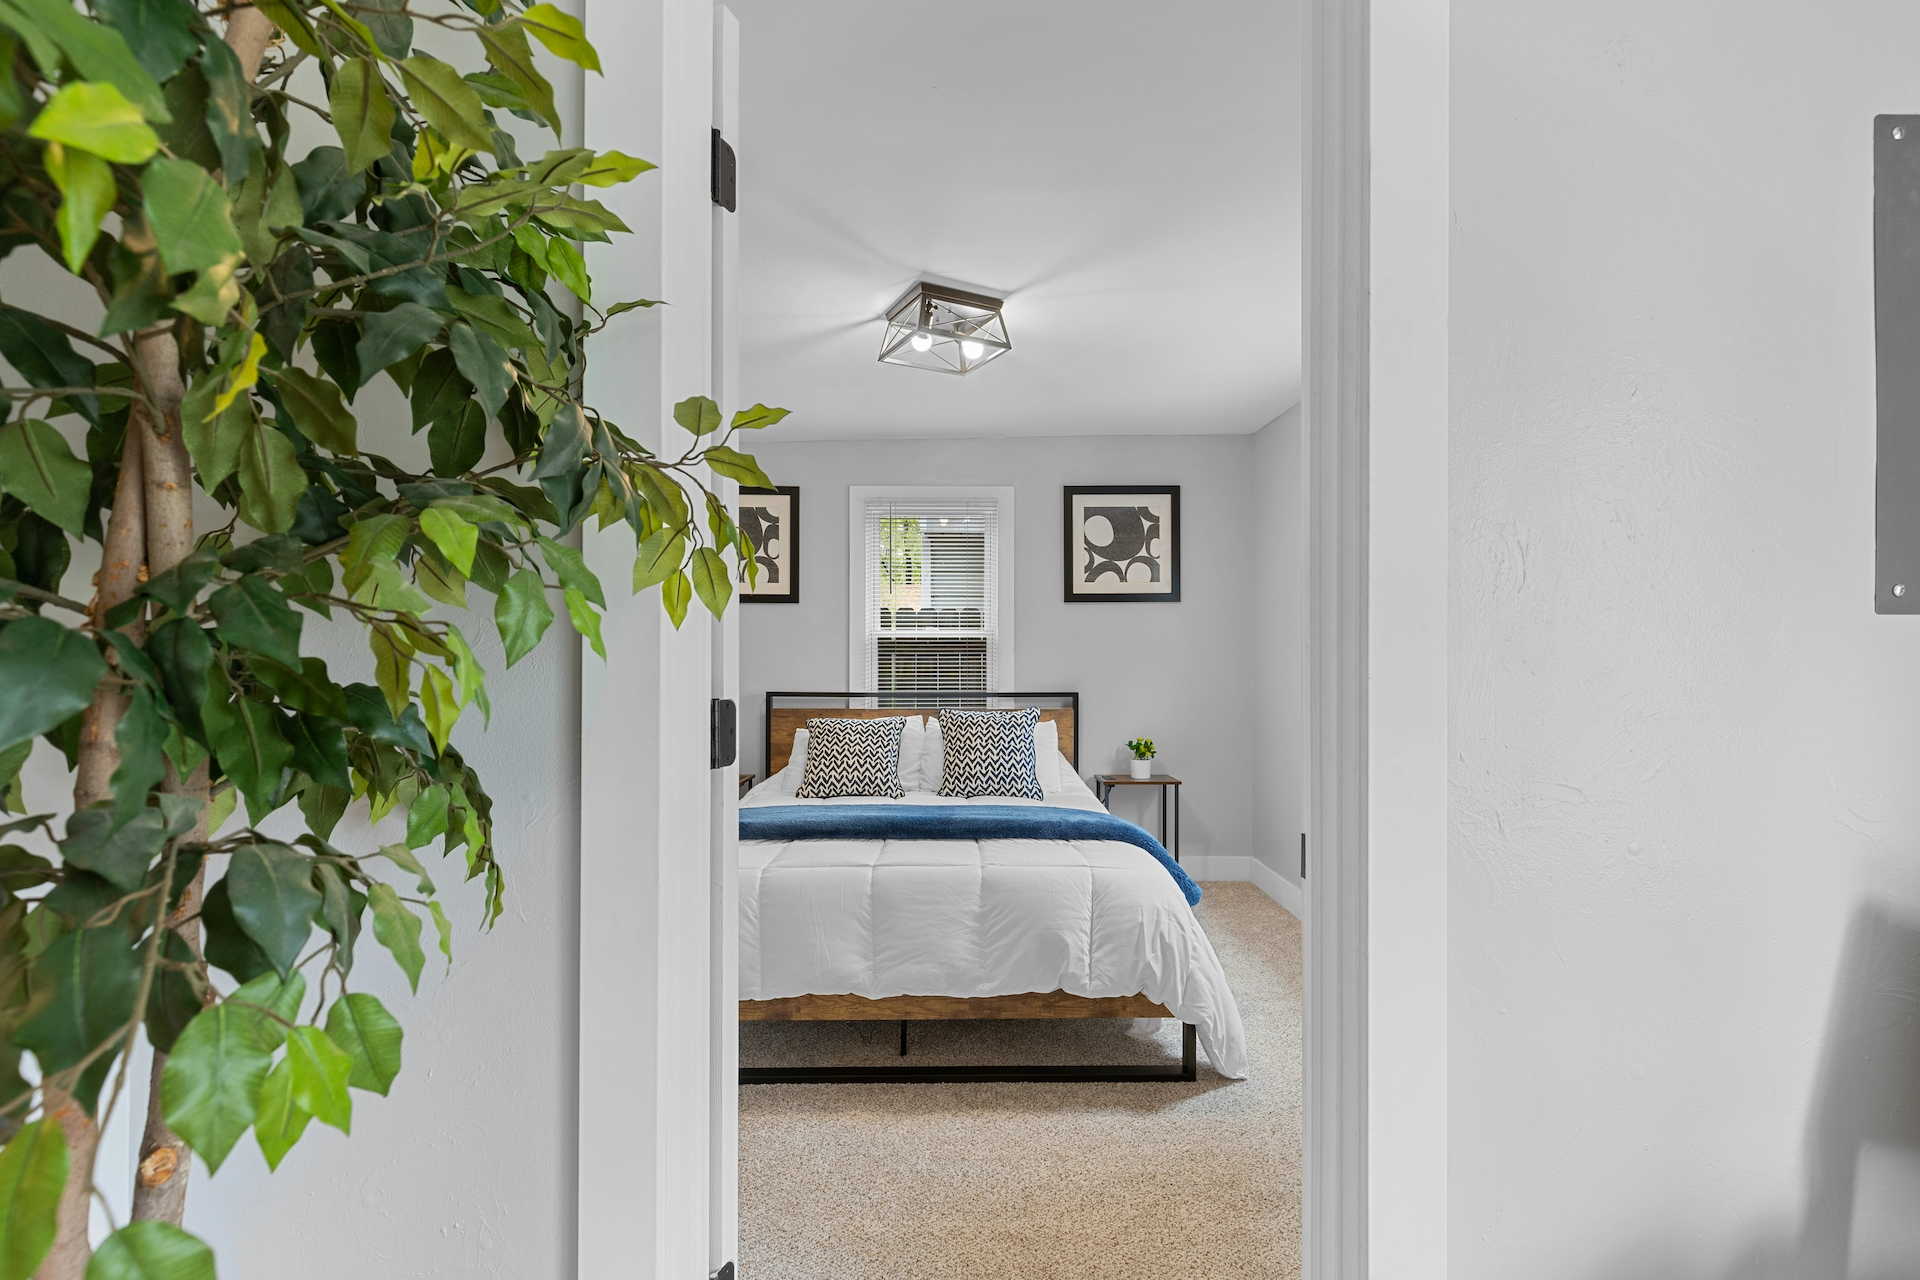
Doorway and corridor shots are useful for giving a sense of how the property flows — something that matters more in a guesthouse or small hotel than in a single self-catering unit.
Once you have your full set, think carefully about order and selection. Think of your gallery as a guided arrival: lead with your single strongest image — typically a hero bedroom or an atmospheric common space, since guests are picturing the experience — then move through the property logically, ending with outdoor spaces and surrounding scenery. That first image is what most booking platforms display as the thumbnail, so it carries more weight than all the others.
Aim for 25–40 photos for a multi-room property. Every photo should earn its place. Mix wide establishing shots with occasional close-ups to add personality and texture.
7. Edit for Consistency
Even well-taken photos usually benefit from some basic editing. Adjust brightness and contrast, straighten any lines, crop out distractions, and remove anything that shouldn’t be there (a stray cable, a staff jacket left over a chair).
The most important thing is consistency: all your photos should have the same feel. Use the same editing style throughout — similar colour temperature, brightness, and contrast — so the gallery looks like a coherent body of work rather than a collection of different shoots.
Adobe Lightroom is the tool most interior photographers use, largely because it supports batch editing (adjust one photo, apply the same settings to all of them). Snapseed is a free, capable alternative for phone-based editing, and Canva works well for quick fixes and resizing.
Avoid heavy filters or over-saturation. If the photos don’t accurately represent how the property looks and feels in person, guests will arrive with mismatched expectations — and that’s where reviews suffer.
8. Shoot for the Platform
It’s easy to photograph a property without thinking about how the images will actually be displayed — and then wonder why they look cropped awkwardly or why key details get cut off once uploaded.
Different platforms use different aspect ratios and display sizes. Booking.com, Google Hotels, and direct booking websites all crop and resize images differently depending on the device and page layout. As a general rule:
- Shoot with important subjects centred or slightly inset from the edges, so there’s safe margin for cropping on any platform
- Avoid placing key features (a fireplace, a view, a distinctive architectural detail) right at the frame edge
- Landscape orientation works best for most platforms; portrait shots are often awkward in gallery grids
- Check how your uploaded photos actually appear on each platform after uploading — what looks balanced in Lightroom can look very different once cropped to a thumbnail
It’s a small adjustment that makes a noticeable difference to how polished your property appears across devices.
9. Consider Hiring a Professional
Everything above assumes you’re doing this yourself — and that’s absolutely viable. But it’s worth being honest: a professional architectural or hospitality photographer will almost always produce better results, and for a property where presentation is part of the brand, the return on investment can be significant.
Professional photos typically lead to more direct enquiries, stronger first impressions, and the ability to command higher rates. If you’re positioning your guesthouse or boutique hotel at the upper end of the market, the cost of a one-day shoot often pays for itself quickly.
There are photographers who specialise specifically in hospitality and accommodation — they understand how to capture atmosphere, not just rooms. If you go this route, brief them thoroughly on your property’s character and the type of guest you’re trying to attract. Don’t assume they’ll intuitively understand your vision without direction.
Even if you handle most photos yourself, consider bringing in a professional for the hero shot: the single image that leads your listing. That one photo does more work than all the others combined.
10. Keep Your Photos Up to Date
Outdated photos are one of the most common causes of guest disappointment. If your listing shows a room before a recent refurbishment, or a garden that’s since been redesigned, guests arrive expecting something different from what they find.
Get into the habit of updating photos promptly after any significant change — a room renovation, new furnishings, a new amenity or facility. For smaller updates, an annual refresh is usually sufficient.
Seasonal photography can also add real value. A guest farm or rural property often looks dramatically different across the seasons — if your property is at its most beautiful in spring blossom or winter mist, having photos from those times gives guests a fuller picture and may appeal to travellers specifically seeking that experience.
Finally, if you’re looking to go beyond photography, consider adding a short video walkthrough or a 360° virtual tour. These are becoming increasingly expected at boutique hotels and higher-end guesthouses, and give prospective guests a level of confidence that even excellent photos can’t fully replicate. Most major booking platforms and direct booking tools now support them natively.
Strong photography isn’t a one-time task — it’s an ongoing part of running a hospitality business. A little effort here pays dividends every time a potential guest discovers your property online.